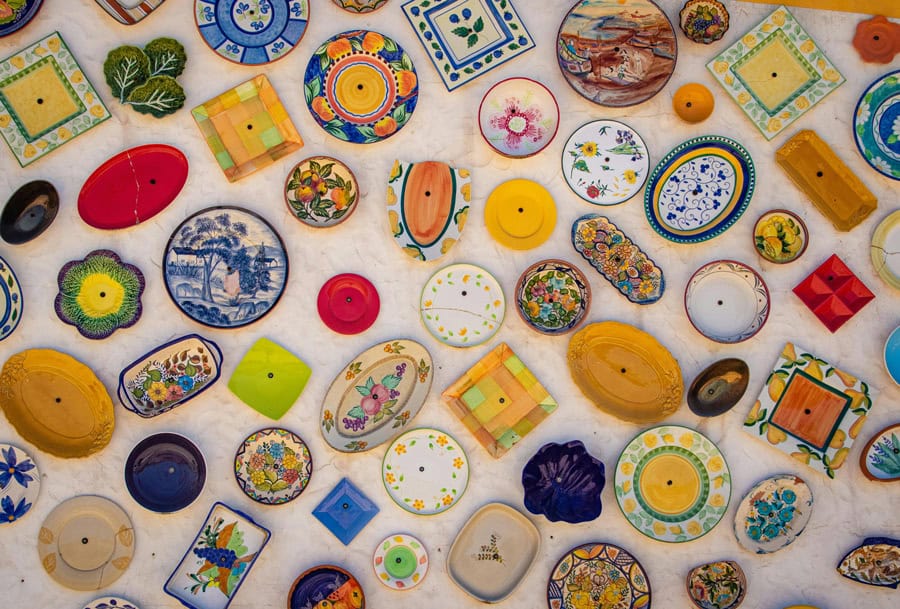
Pottery is an age-old art form that has captivated the hearts and minds of artisans & enthusiasts for centuries. At Artisan Insight Studios, we believe that pottery is more than just a craft—it’s a journey of creativity, patience, and self-expression. Today, we shine a spotlight on the intricate art of pottery painting, offering expert tips and techniques to help you elevate your creations.
The Foundation: Preparing Your Pottery
Before diving into the painting process, it’s essential to prepare your pottery surface properly. Here are some steps to ensure a smooth start:
- Clean Your Piece: Remove any dust or debris from your pottery with a damp sponge. A clean surface ensures that the paint adheres better.
- Smooth the Surface: If there are any rough edges or bumps, gently sand them down. A smooth surface allows for more precise painting.
- Apply a Base Coat: Depending on the look you’re aiming for, you might want to apply a base coat. This can be a single color that will serve as the background for your design.
Choosing the Right Tools and Materials
Selecting the appropriate tools and materials is crucial for achieving the desired effect in pottery painting. Here’s what you’ll need:
- Brushes: Invest in a variety of brushes, from fine-tipped for detail work to larger ones for broad strokes. Quality brushes can make a significant difference in your painting.
- Paints: Use underglazes or overglazes depending on your project. Underglazes are ideal for intricate designs, while overglazes add a glossy finish.
- Sponges and Stamps: These tools can help you create interesting textures and patterns on your pottery.
Techniques to Master
Now that your pottery is prepped and your tools are ready, let’s dive into some expert techniques that will bring your pottery to life.
- Sgraffito: This technique involves scratching through a layer of underglaze to reveal the clay body beneath. It’s perfect for creating intricate designs and adding depth to your piece. To achieve this, apply a layer of underglaze, let it dry, and then use a fine tool to carve out your design.
- Wax Resist: Wax resist is a fun way to create patterns and textures. Apply wax to areas you want to remain unpainted, then paint over the entire piece. The waxed areas will resist the paint, revealing the base color after firing.
- Ombre Effect: To create a beautiful gradient effect, choose two or more colors and blend them seamlessly. Start with one color at the top of your piece and gradually blend in the second color as you move downward. A sponge can help with smooth transitions.
- Stencil and Masking: Use stencils and masking tape to create sharp, clean lines and intricate patterns. Secure the stencil or tape on your pottery, apply the paint, and then carefully remove it to reveal your design.
Finishing Touches
After you’ve completed your painting, it’s time for the finishing touches:
- Glazing: Applying a clear glaze over your painted design can enhance its vibrancy and provide a protective layer. Make sure to follow the specific instructions for your glaze.
- Firing: Finally, fire your pottery in a kiln according to the paint and clay specifications. This step is crucial for setting your design and achieving a durable finish.
Conclusion
Pottery painting is a wonderful way to express your creativity and add a personal touch to your ceramic pieces. By mastering these techniques and using the right tools, you can create stunning works of art that reflect your unique style. At Artisan Insight Studios, we encourage you to explore these methods and experiment with your own ideas. Happy painting!

